Creating a Custom Splash is straightforward, once you know where to start.
Start by clicking on "Custom Splash", from the side panel, in the membership pages. On the next page, click on "Create" to start creating your Custom Splash. On the next page, fill in the fields needed for creating your Custom Splash.
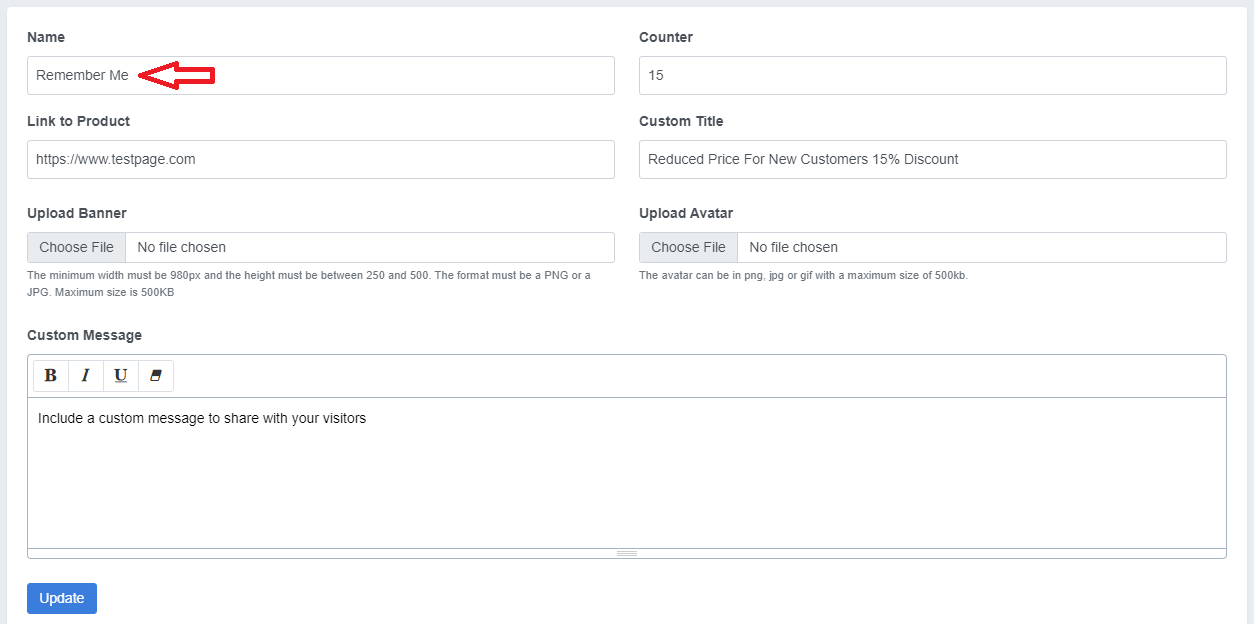
Name
Remember the name that you will give to your Custom Splash because you will need to choose that name when you create the short link for your Custom Splash. The name of your Custom Splash can be anything that you want because only you will ever see it unless you have a team. Think of the name of your Custom Splash as a Tag that you will use to recall the name of your Custom Splash later when you are creating your short link.
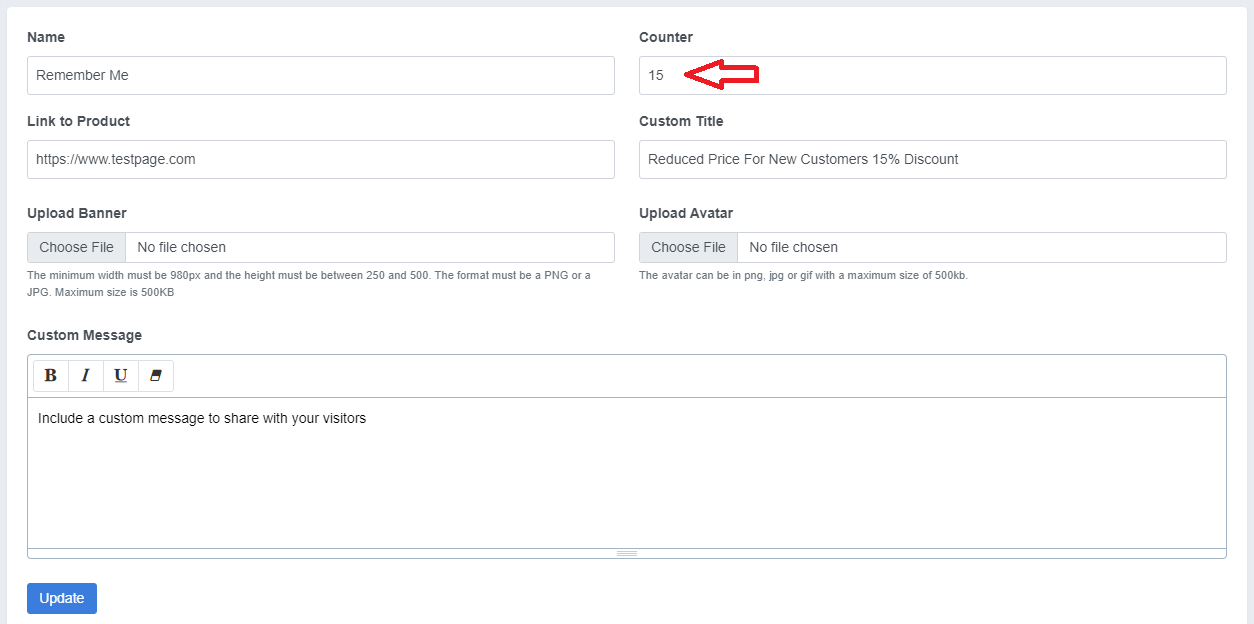
Counter
Choose how many seconds your Custom Splash will be showing, before it disappears and the link redirects to your product webpage. Depending on how much information you have on your Custom Splash, for your visitors to read and observe, will depend on how many seconds that you will set it for. Most marketers feel that 10-15 seconds is enough. But, use your own discretion. Just add a number, such as 10 or 15. Do not add the word "Seconds" to the counter text field. The program already knows that it is seconds. Even if you choose more than 10-15 seconds, don't worry about that so much. Because, there will also be a button that your visitors can click on, which will immediately override the counter timer, and bring them straight to the product webpage if they choose to do that.
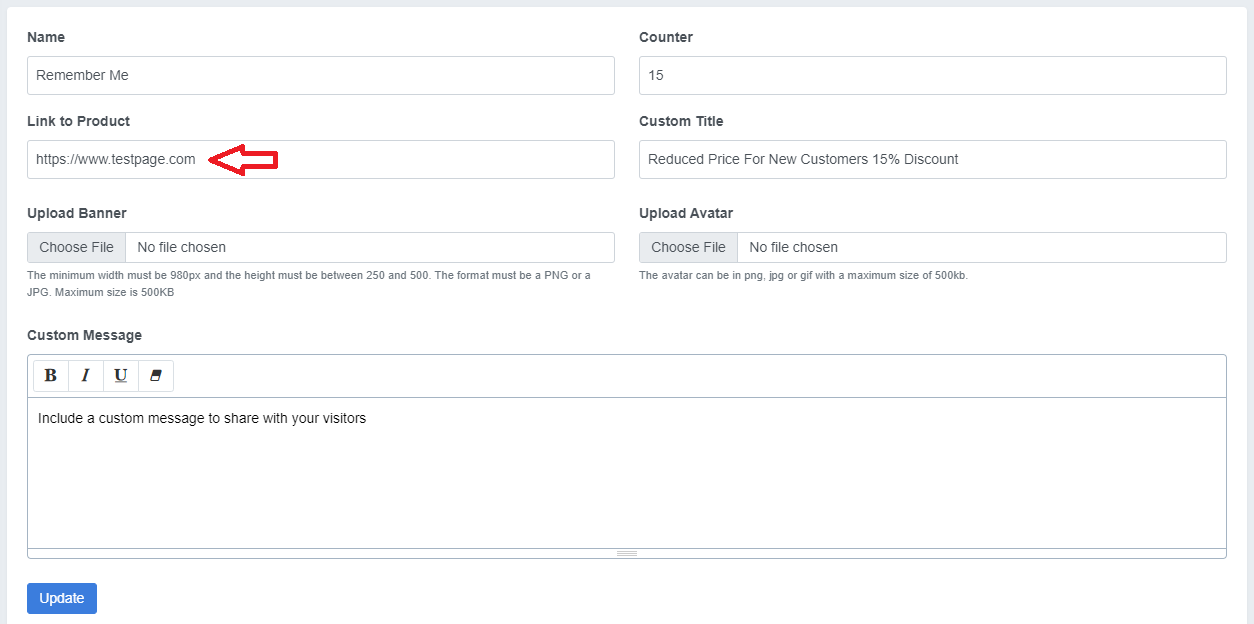
Link to Product
This is the link to the webpage that you want your visitors to be redirected to after the Custom Splash disappears. An affiliate webpage, a landing page, an offer page, a product page, or your own webpage. You will want to copy the link to your clipboard because you will need to paste the same link again when you are creating a short link for your Custom Splash. But, that comes later.
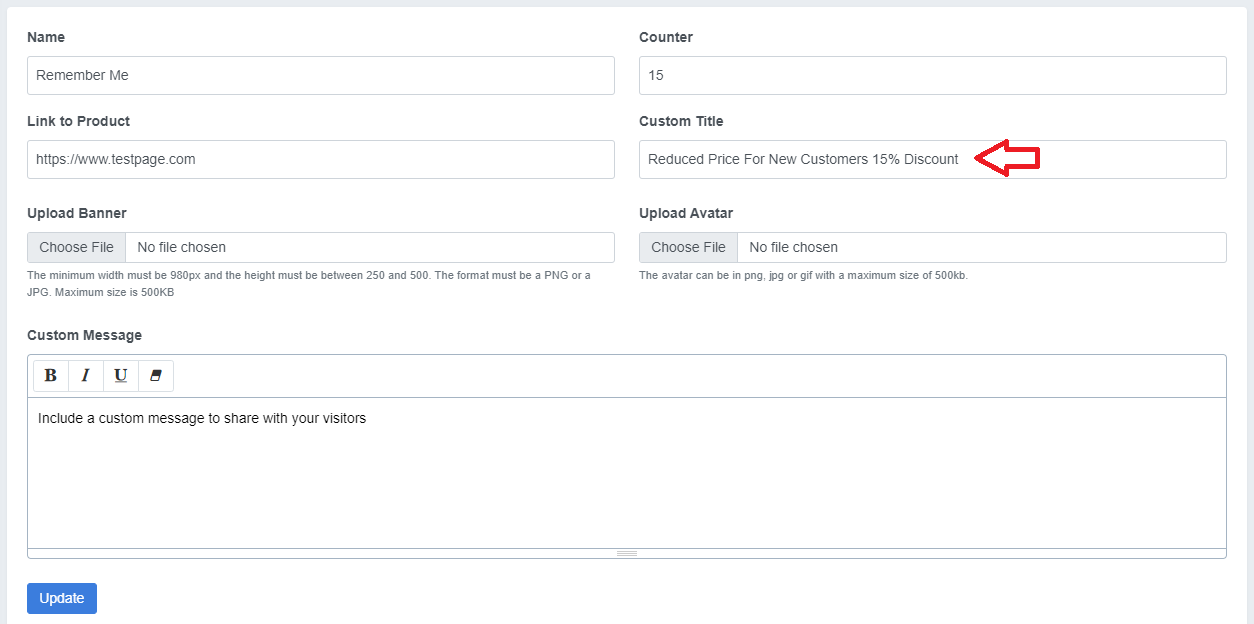
Custom Title
This title is going to appear on your Custom Splash for your visitors to see. It can be anything you want. Something to entice your visitors, and get their attention. A discount. A special offer. Whatever you think will grab their attention the most, in relation to what you are promoting.
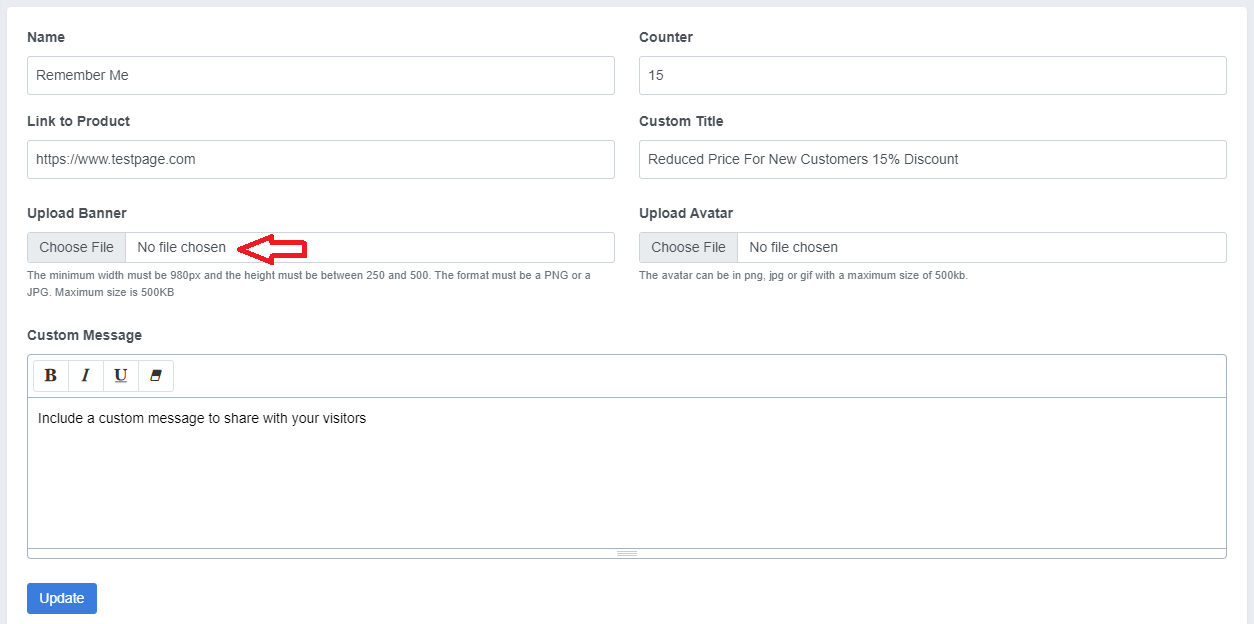
Upload Banner
This is the main part of the Custom Splash. It is what makes it look like a webpage. It takes up most of the room of the Custom Splash. If you already have a banner from a site that you are affiliated with because they have already provided a banner for you, and the banner is (minimum width 980px, height between 250px-500px, the file type is either PNG or JPEG and the file size is no more than 500kb) then you are all set. But, if you are making your own banner, you can download and use Paint.net, PhotoFiltre Studio, Gimp.org, or something similar, to create your own eye-catching photo and intriguing words that can be displayed as the banner, to attract the attention of your visitors. In relation to what you are promoting, of course. With these photo editors that I mentioned above, you can find Creative-Commons Photos online, and drag-and-drop the photo right on your new blank banner-size placeholder from within the photo editor or add the photo to the photo editor the traditional way, by finding the add file or add photo button or link, from within the photo editing program. When finished, you can upload your banner in the Upload Banner field.
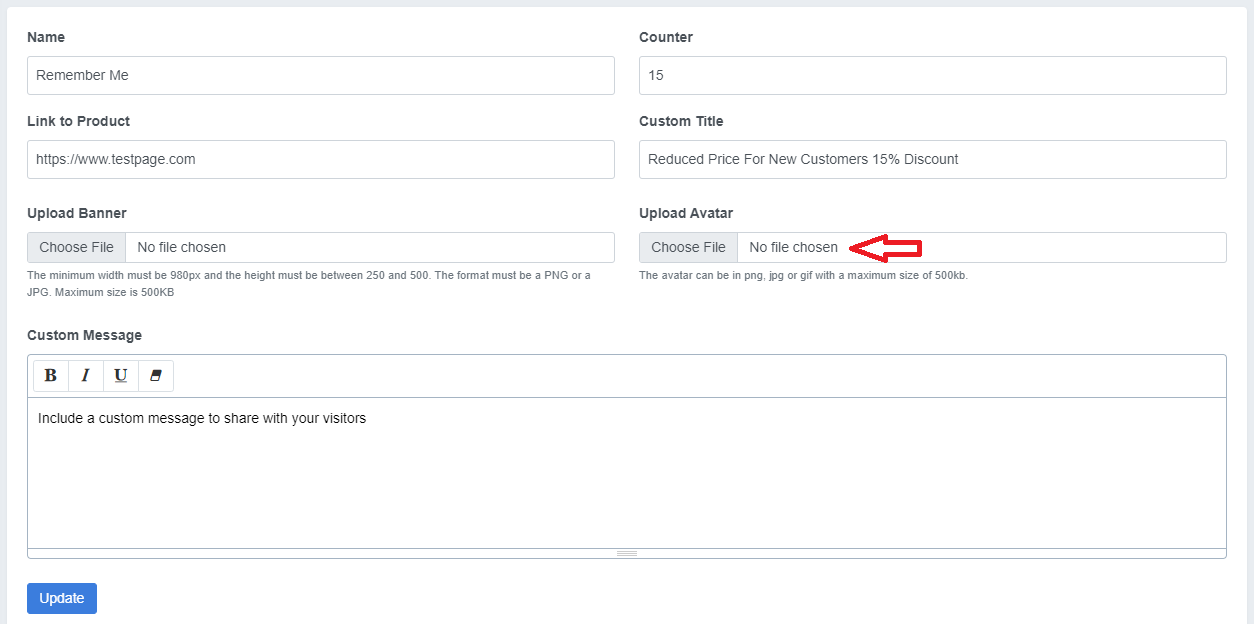
Upload Avatar
This can be a photo of your face, your company logo, your brand, or anything that you proudly represent to the world. The file type of your avatar can be PNG, JPEG, or GIF. With a maximum file size of 500kb. The avatar appears close to the bottom of the Custom Splash, on the left side. Upload your avatar to the upload avatar field.
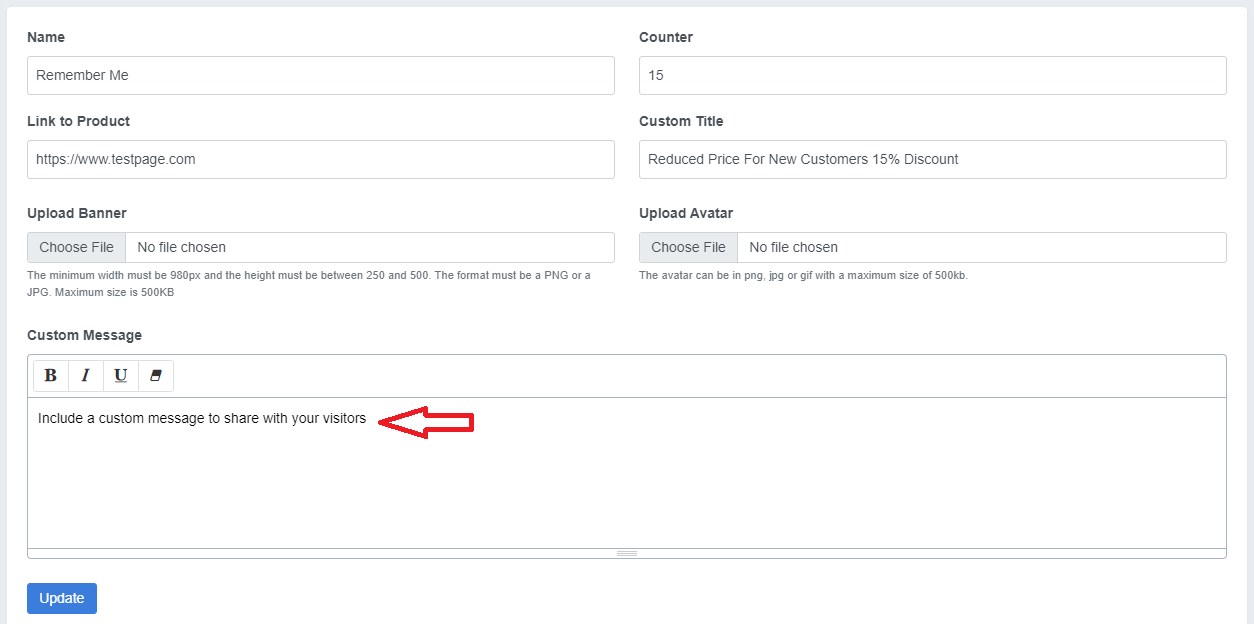
Custom Message
Your message will appear at the bottom of the Custom Splash, just to the right side of your avatar, in the middle. Depending on the length of your message, it can take up most of the space provided, at the bottom of the Custom Splash. Provide as much detail as you want, for what you are promoting. Keep in mind that your visitors did not click on your short link just so that they can read a lot of words on a Custom Splash. So, I recommend that you don't add too much text to read, otherwise, your visitors will lose interest and just leave the page. Keep it simple and to the point. After you have filled out all the fields, click on Save, at the bottom.
Return to the Dashboard
Now that you have built and customized your new Custom Splash, it's time to return to the dashboard to create a short link for your Custom Splash. At the dashboard, click on the expansion button, to drop down and expand your options.
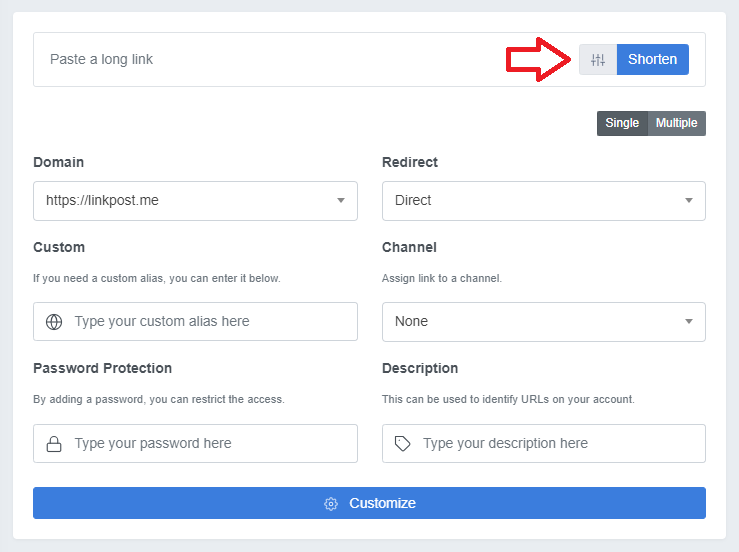
Next, click on the Redirect dropdown, and find the name of your Custom Splash. Click on the name of your Custom Splash to select it.
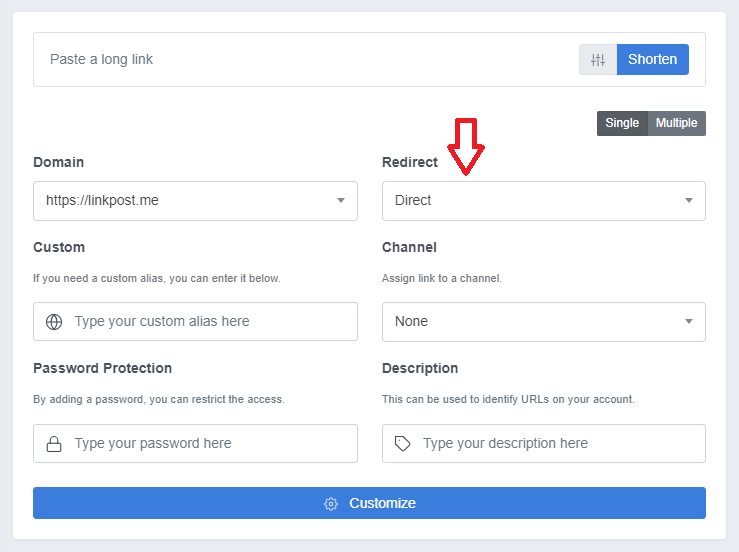
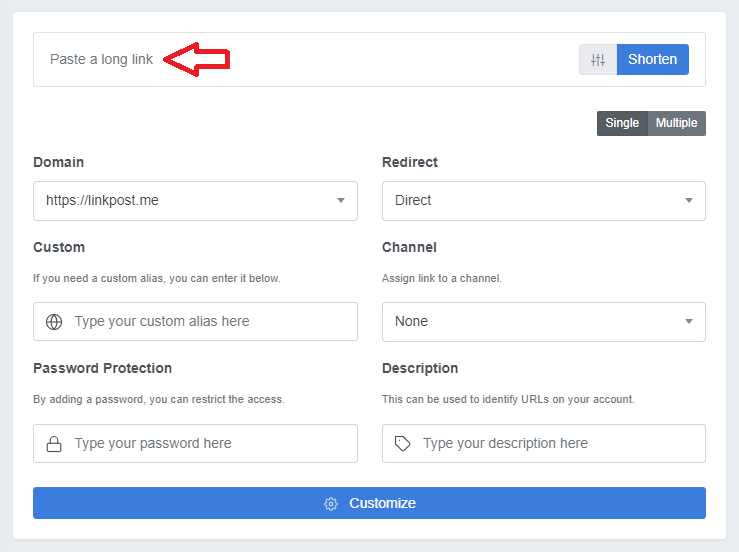
Next, paste your promotional webpage link into the long link field. It is the same link that you added to the Link to Product field when you were building your Custom Splash, on the Custom Splash page. But this time, you are shortening it.
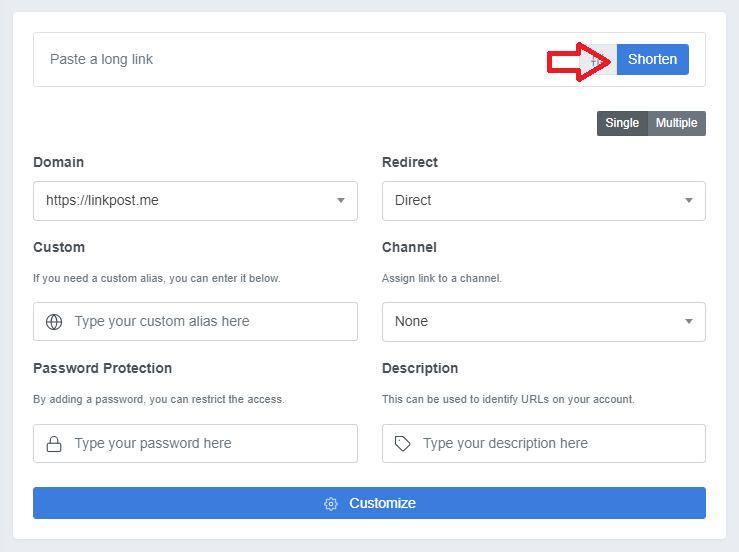
Add any features and customizations that you wish, or that you are able to, and then click on the Shorten button. And now your Custom Splash is ready to share with your potential customers. Share your short link in your link-in-bio, emails, newsletters, and on other websites, blogs, and posts, within the boundaries and limitations of their policies.
Good Luck!
-Stephen
help@linkpost.me
